Shop Online for the fabulous products I use

Saturday, September 11, 2010

Embossed clear cards with Veranda


I saw a few clear cards embossed so decided to put a few throught my Cuttlebug embosser using a few different folders.
The results are super elegant.

The inside of the card features 2 layers of Veranda paper, and a Thank You from Gracious Greetings.

The front of the card is simply Organza ribbon wrapped around, fastened with 3 layers of paper flowers.


All products are Close to my Heart except paper flowers (basic grey).

Tuesday, September 7, 2010

Celebrate!


A good way to use chipboard and scrapbook stickease .... decorating special cards.


I blended ocean , hollyhock, and sweet leaf markers onto the Irresistables chipboard. See how the stitching and the white flower remain white? That's because the irresistables chipboard are printed with white designs that resist ink so you can custom colour them to match anything!

The inspiration for this card is on page 96 of the Autumn Winter Idea Book.
You can also find directions for it in Originals: Handcrafted Cards Made Easy, page 59.
In fact, the same card is featured on the cover of Originals, using Alfresco, blush, hollyhock, and olive.
http://www.closetomyheart.com/en/Products/Online_Idea_Book.aspx

Papers are from Close to my Heart Miracle Kit.

Sunday, September 5, 2010

Ms Holiday Cheer


Yes she's back!


Ms Holiday Cheer is back with a sugary sweet look on Jingle Papers.

Colours are tulip, juniper, blush and olive.


This time she is adorned with liquid glass, prisma glitter, and stickles. She is flanked by teeny buttons and surrounded by new bitty red, pink and purple sparkles.


Look how proudly she is strutting by!

Deck the Halls


I used the snowflake paper and stickease ornaments from a vintage Deck the Halls paper pack to create 3 cards . The inspiration for the circles on the background comes from page 88 of the 2010 autumn/winter idea book fromo Close to my Heart where it is shown using Mistletoe creative basics .
The branch under the left ornament is actually a swirl stamp from one of my brand new acrylix, Circle of Love (the peacock one) and the sentiment is from Ms Holiday Cheer .
I found a plastic stencil to use for the circles which just made my day . I think this design is quite versatile and a good way to showcase co-ordinating papers.

Saturday, September 4, 2010

Thanks a Latte


I can't take credit for the phrase, but it's an awful cute way to say thanks , and Lattes are my personal favorite in the specialty coffee world. I dont like to spend $4 on a coffee so they are definately in the category of Occasional Treat to Myself.

I would love a latte machine... one day.
I used vintage Just Chillin' papers and stickease from CTMH, dew drops, stickles, and chocolate organza ribbon.

Friday, September 3, 2010

Christmas in September


This week, I made several 5 x 6 1/2" cards using lots of different papers from Close To my Heart's Winter paper packs from the last 5 years, and some odds and ends . Julia H. gave me a lot of matching Stickease that I incorporated as well. The papers aren't really interesting to me as scrapbook pages any longer, but are fabulous on card fronts! And, I have a list of cards to make for our school Social Committee.


Here is the first: Just Chillin is the featured paper pack, from the 2007 CTMH idea book!

Colours are Breeze, Desert Sand, Ocean and Vine Berry.

funky, and surprisingly, timeless!

Thursday, September 2, 2010

Live Inspired


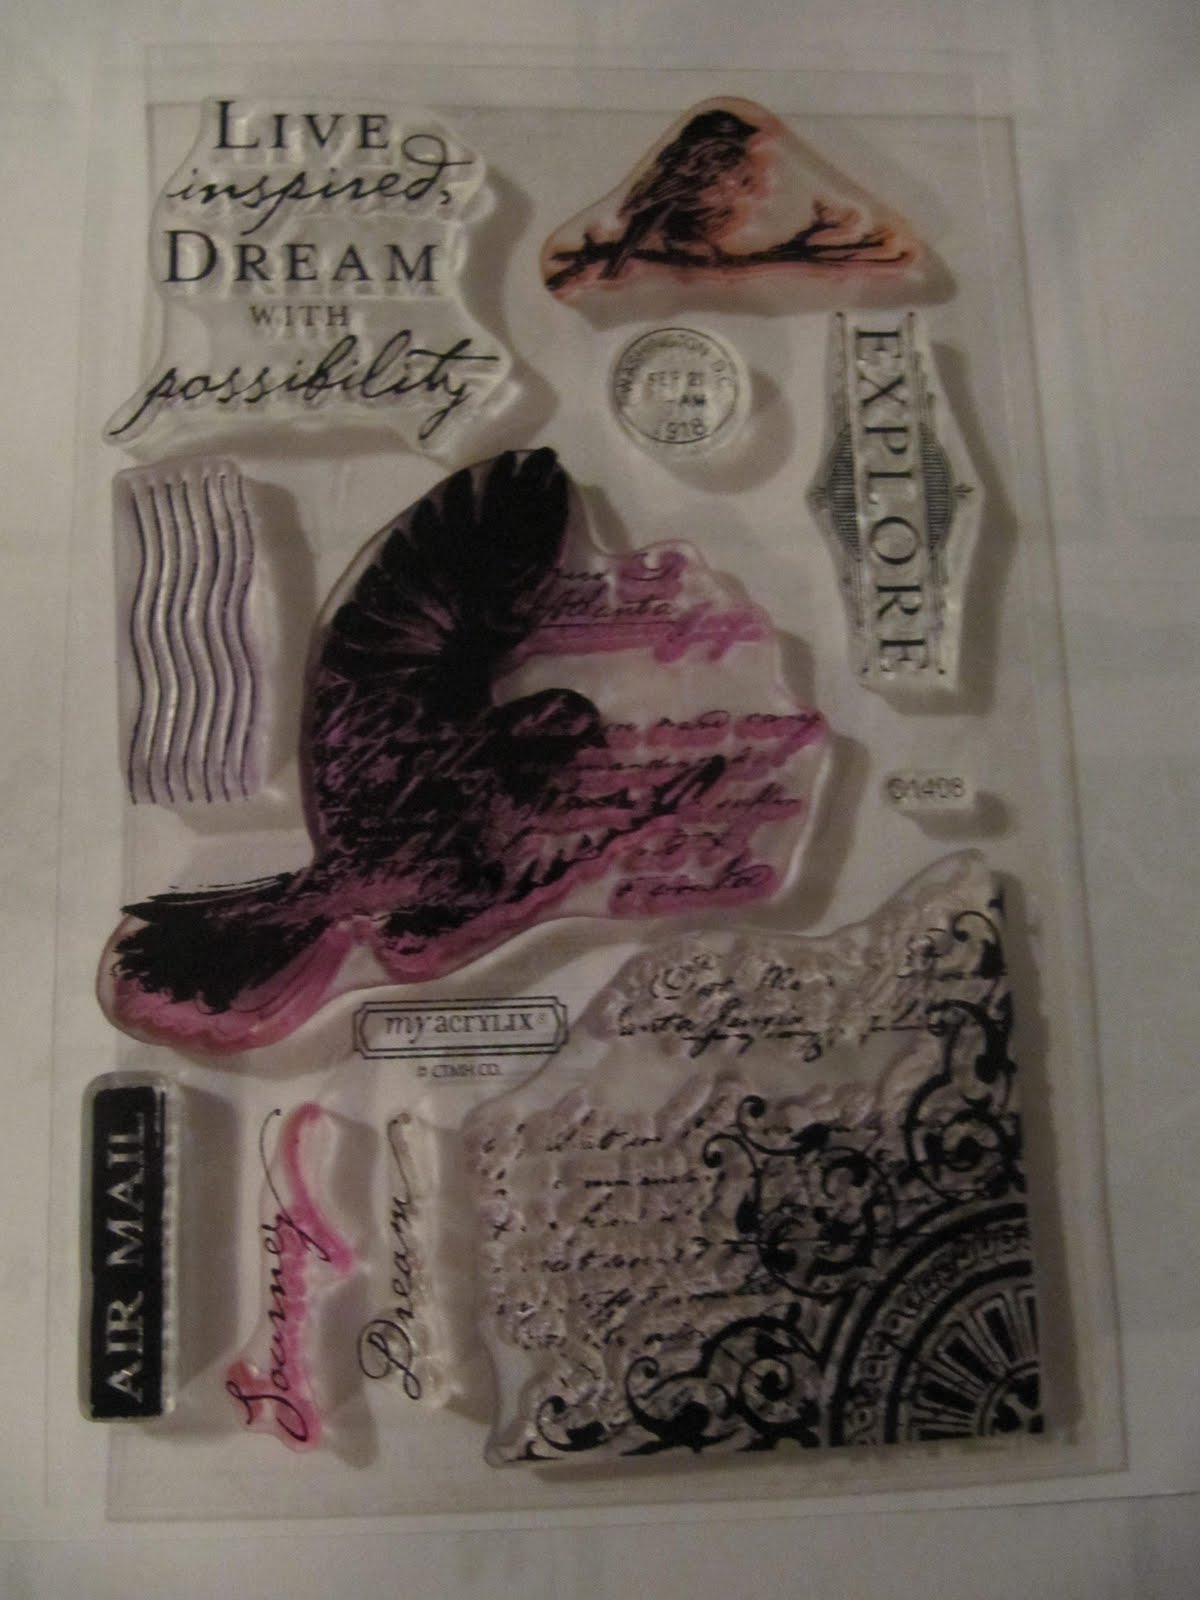
I really really Love this bird from the Live Inspired acrylix (I pictured the set of 10 ) This is the second 6x6 card that I have worked up using this stamp as the focal point. It is an elegant image and very versatile. I made 2 birthday, 2 sympathy, and 2 congratulations cards using it yesterday.

The paper pack is from a Heart of Winter special and is no longer available. It came from Julia H's stash . It has an olive background of intertwining leaves, and a floral pattern with smoky plums. Since these are large, special occasion cards, I lavished layers and layers of paper on the front. I think there are 7 layers.

This time, I took a hint from the Triple Play techniques and used a 3 colour approach to inking the bird. First I darkened the bottom of the tail and the tips of the wing with pansy purple by pressing just that area of the stamp directly onto the ink pad. Then I inked the rest of the stamp overall with Desert Sand, which almost has a green tinge to it. Its actually close to khaki. Then I finally sponged a small touch of Twilight, which is a teal blue , onto the upper part of the bird.


For the background of the 3x3 square , I swiped the edges in pansy purple first , then I stippled a metallic gold ink onto the sides, focusing on the upper left and lower right corners.